Tutorial: Star Wars Sugar Cookies
May the 4th be with you! I know it’s not May anymore, but it is the 4th, and we will be visiting Disneyland’s new Star Wars themed land, Galaxy’s Edge, on Sunday, so I’m feeling some serious Star Wars vibes. These days vibes means cookies, who am I kidding, these days everything means cookies, and because cookies are everything I decided we need Star Wars cookies for our first visit to a galaxy far far away…
I plan to report back on our Galaxy’s Edge experience, but in the meantime…
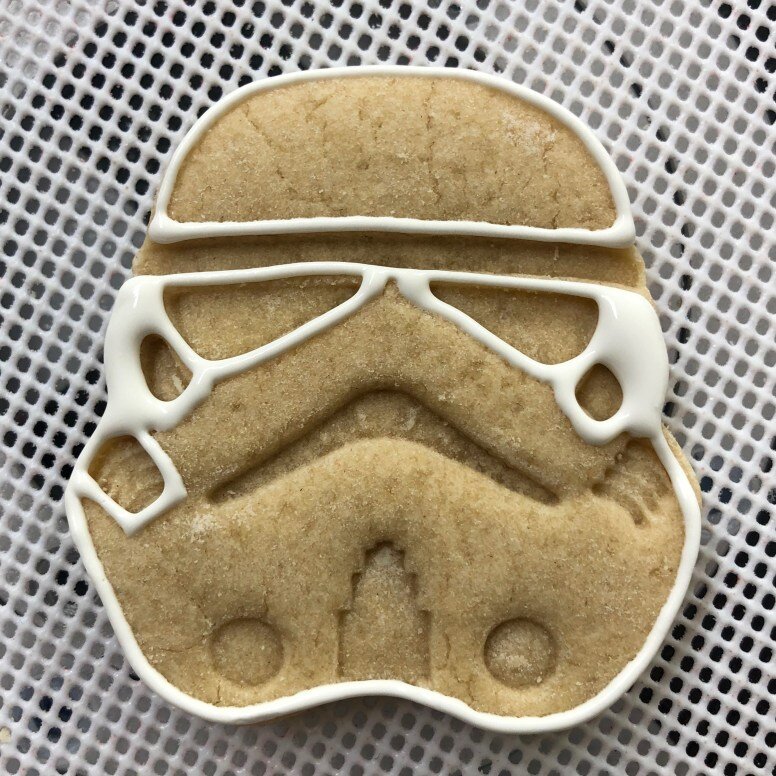
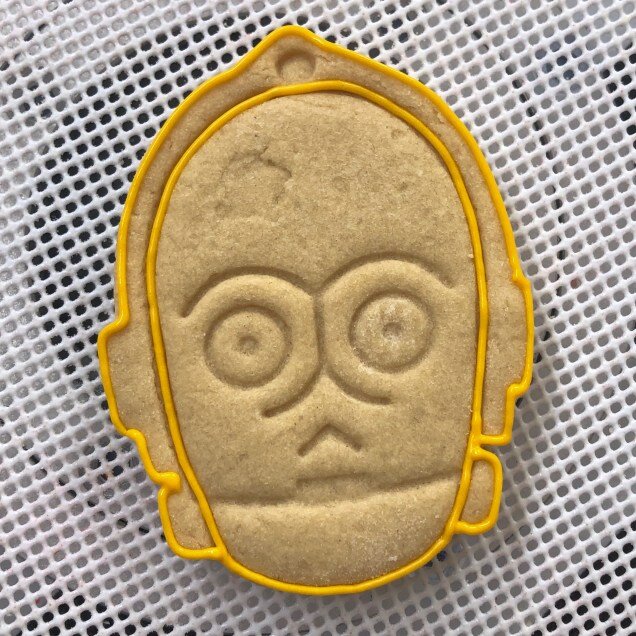
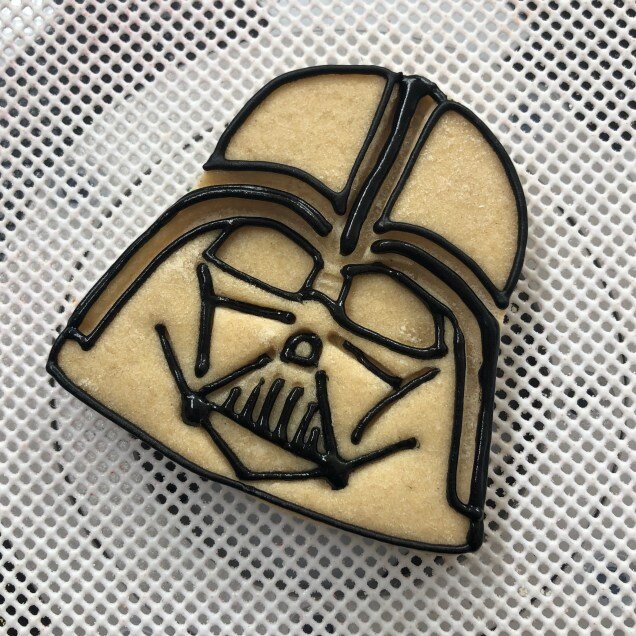
Is there a better occasion to give my new Star Wars theme stamped cutters their first spin? Stamped cutters can be finicky, but if you dip them in flour before each and every cut your dough should release more easily. If your cutters aren’t holding their image or shape during baking, try chilling them in the freezer for 5 – 7 minutes prior to baking.
Plan out and then mix the colors you’ll be using to decorate your cookies. Using gel paste food colors will help to keep your icing at the desired consistency.
Add a little bit of color at a time until you reach the correct shade. Keep in mind that come colors deepen over time. If you find that your icing is too thick, mist it with a small amount of water to loosen it up.
Pipe the outline of your design and then let the cookie dry for a few minutes. For the best results wait for each new addition to dry before moving on to the next step.
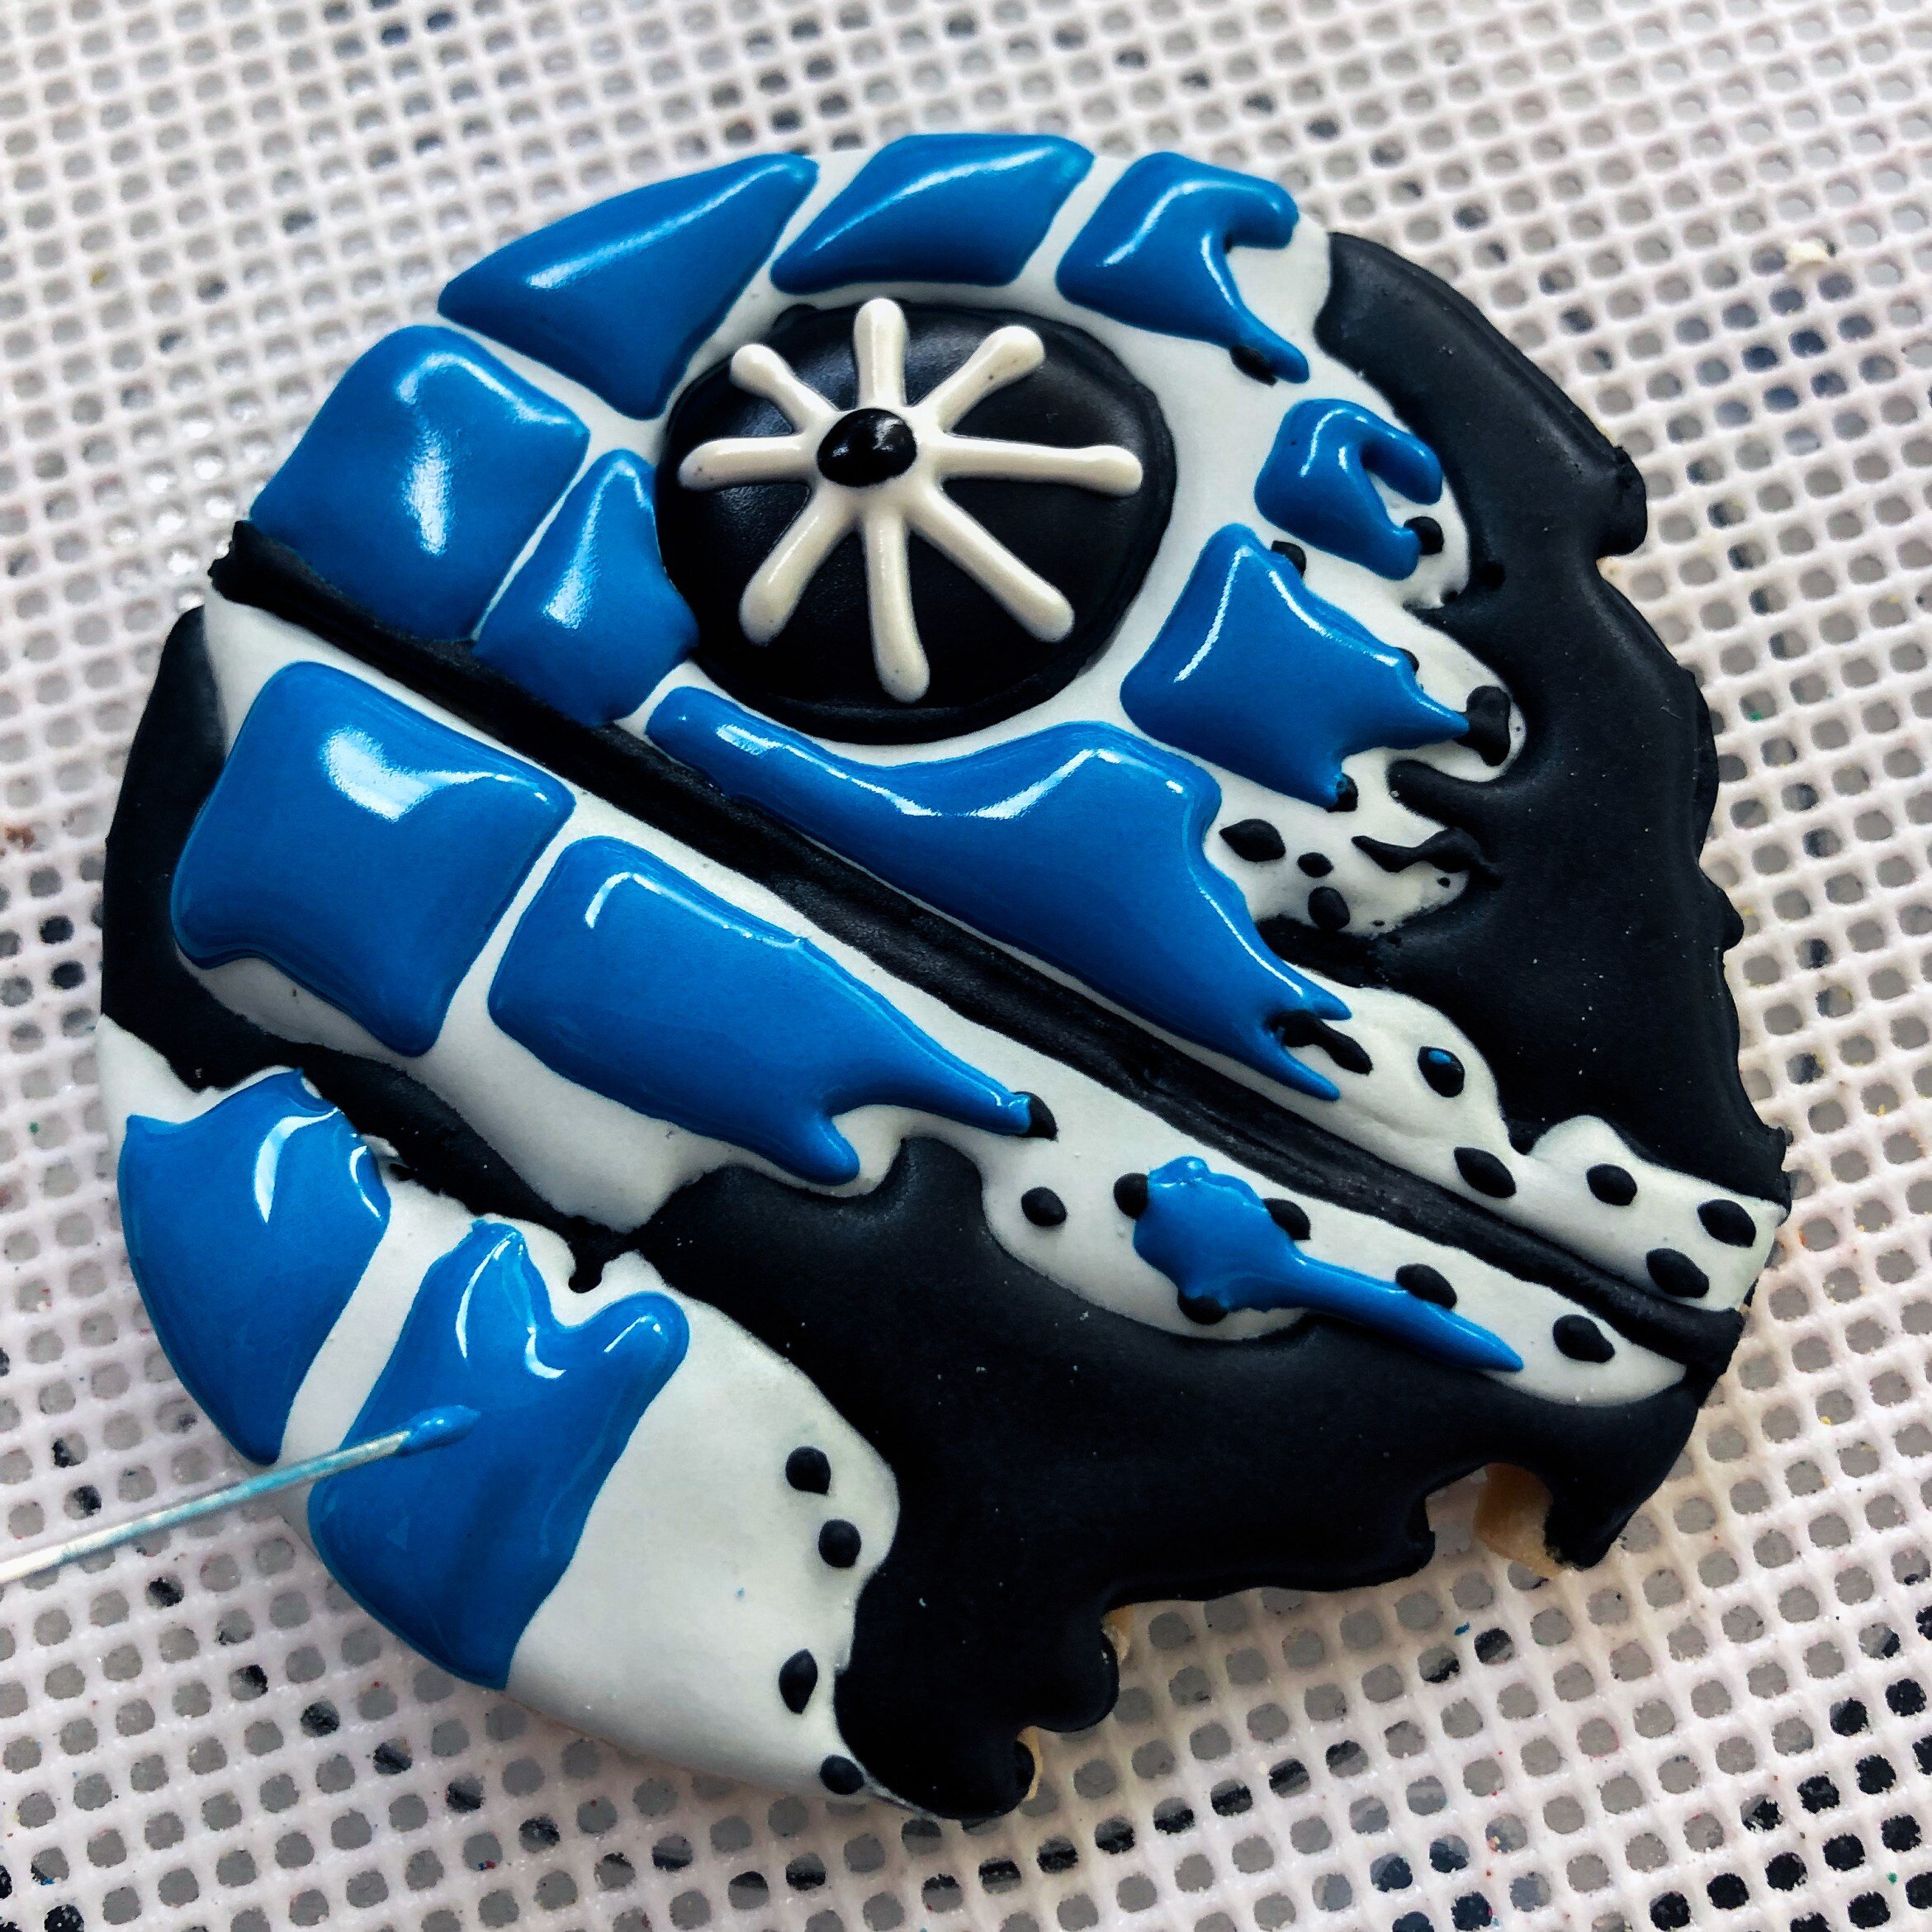
Once your outline has dried, flood the cookie completely, and then give it a good long rest before adding the final details.
Once your cookie has a nice crust over the top you can add the eyes, fur, and any other details you might like. Allow your finished cookie to dry completely, or if you can’t wait…
I admit with the end of the school year looming and other responsibilities on my plate I may have rushed these a bit. Still, I can’t wait to try them inside of Galaxy’s Edge. Stay tuned for pictures.


